Showing posts with label AWS. Show all posts

Monday, October 25, 2021

Windows Development Software - Local Dev Env

This is a series of posts which will list some useful apps for development and general usage of Windows. These are just some examples of what can be useful. Of course, use any app you already know or have.

local dev env:

Laragon

https://github.com/leokhoa/laragon

Laragon is a portable, isolated, fast & powerful universal development environment for PHP, Node.js, Python, Java, Go, Ruby. It is fast, lightweight, easy-to-use and easy-to-extend.


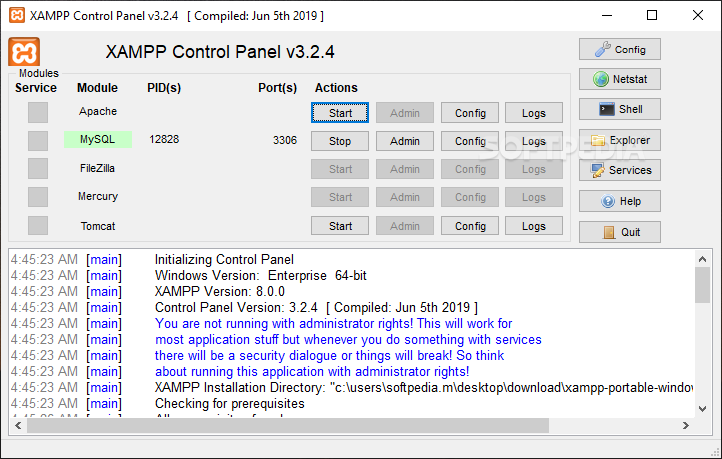
XAMPP

https://www.apachefriends.org/

XAMPP is a completely free, easy to install Apache distribution containing MariaDB, PHP, and Perl. The XAMPP open source package has been set up to be incredibly easy to install and to use.


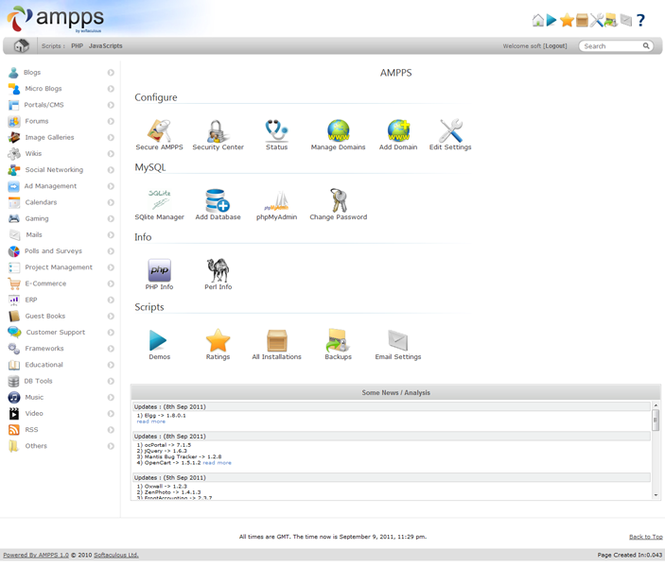
Ampps

https://ampps.com/

AMPPS is a WAMP, MAMP and LAMP stack of Apache, MySQL, MongoDB, PHP, Perl & Python. With AMPPS you can create a website by installing any of the 419 Apps, customizing it, and then simply publishing it on the internet via a wide choice of hosting service providers.


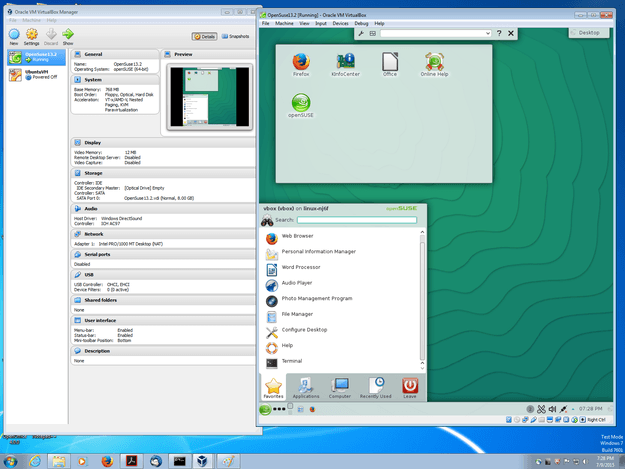
Virtual Box

https://www.virtualbox.org/

VirtualBox is a powerful x86 and AMD64/Intel64 virtualization product for enterprise as well as home use. Not only is VirtualBox an extremely feature rich, high performance product for enterprise customers, it is also the only professional solution that is freely available as Open Source Software 


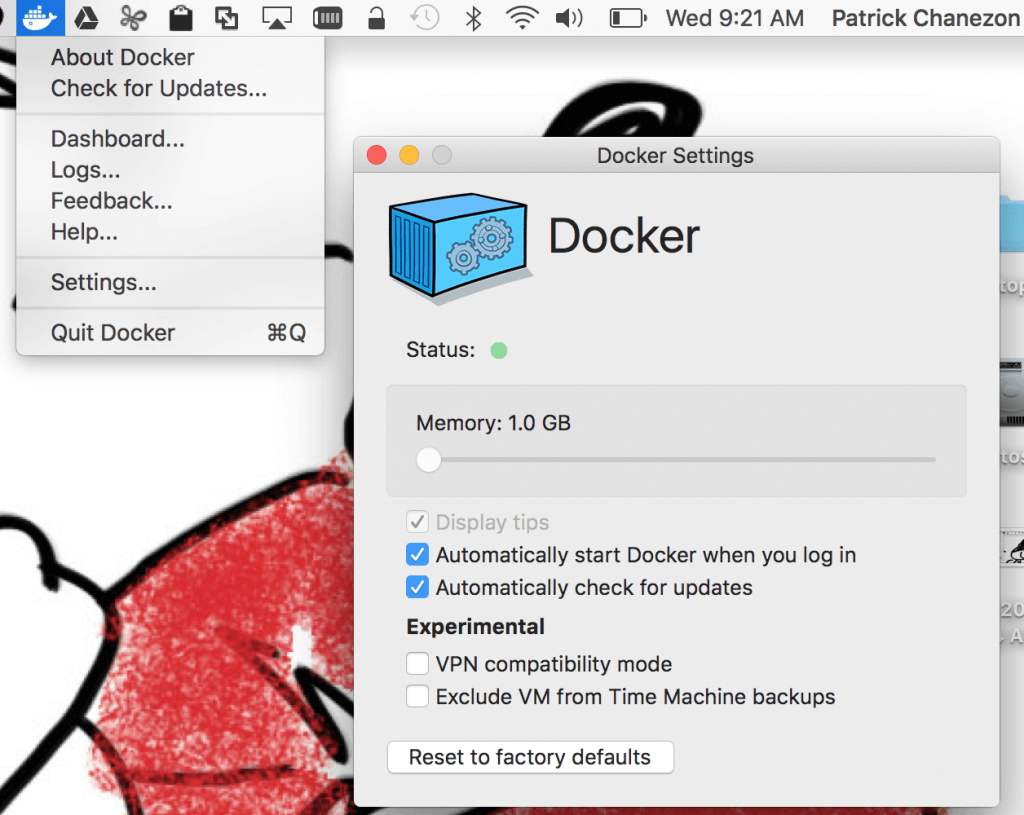
Docker

https://www.docker.com/products/docker-desktop

Docker helps developers bring their ideas to life by conquering the complexity of app development. We simplify and accelerate development workflows with an integrated dev pipeline and through the consolidation of application components. Actively used by millions of developers around the world.


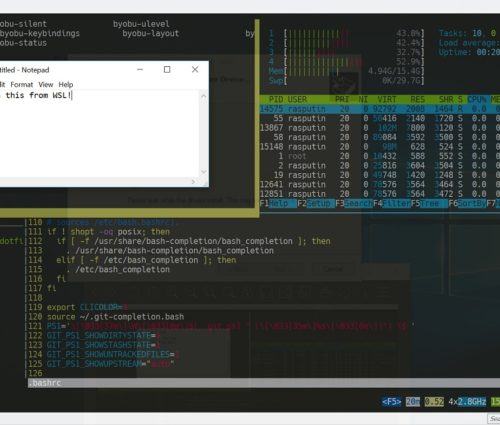
WSL

https://docs.microsoft.com/en-us/windows/wsl/install-win10

The Windows Subsystem for Linux lets developers run a GNU/Linux environment -- including most command-line tools, utilities, and applications -- directly on Windows, unmodified, without the overhead of a traditional virtual machine or dualboot setup.


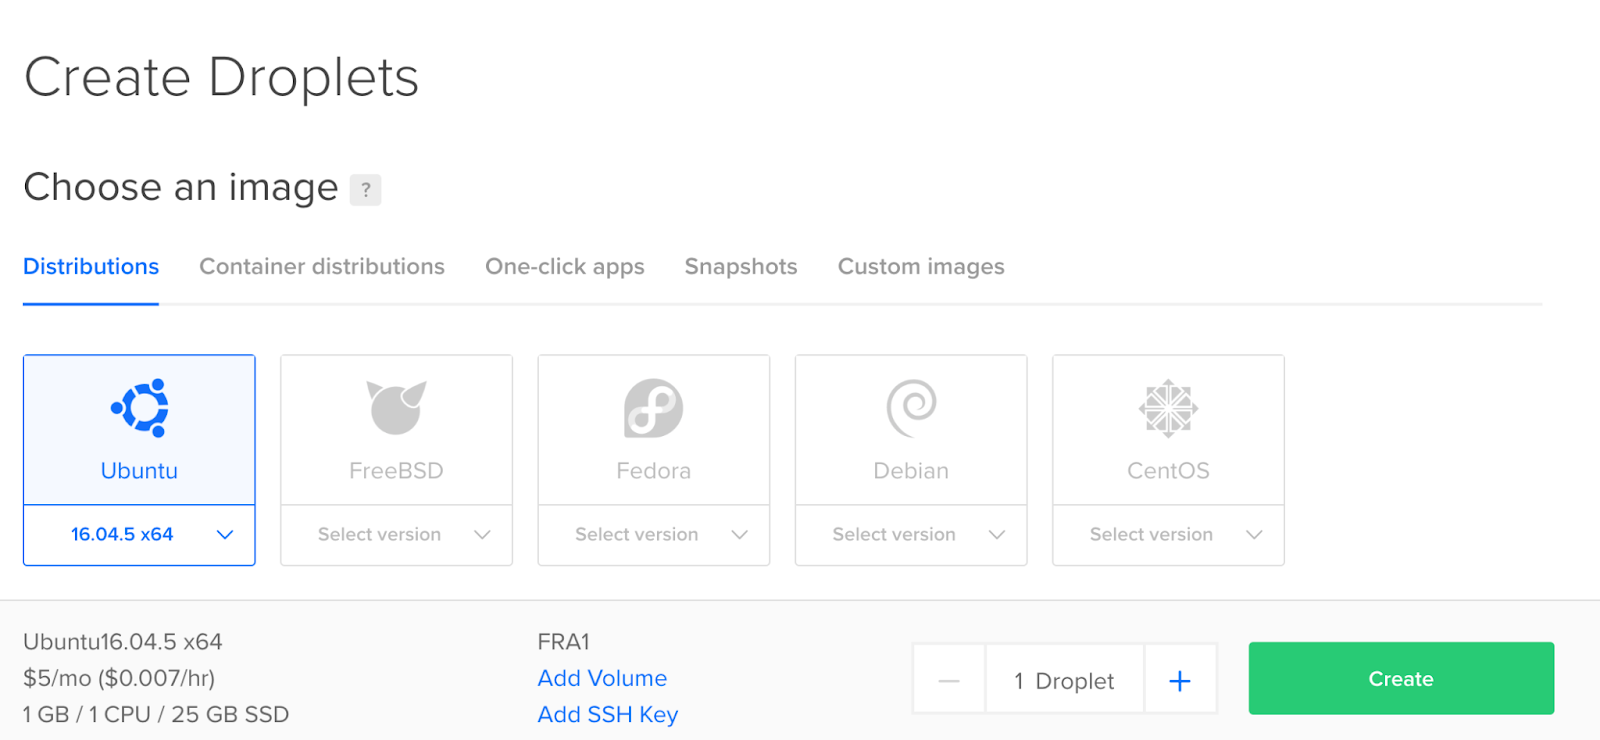
Cloud Droplets

https://www.digitalocean.com/products/droplets/

Easy, fast, and flexible compute

Spin up your choice of virtual machine in just 55 seconds. Basic, General Purpose, CPU-Optimized, or Memory-Optimized configurations provide flexibility to build, test, and grow your app from startup to scale.


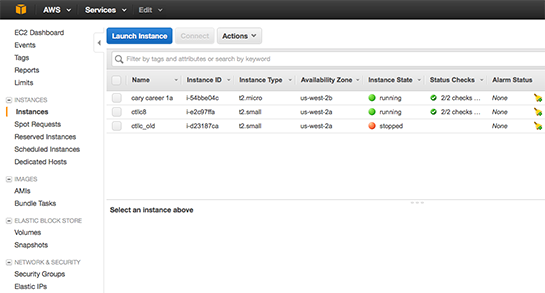
Cloud EC2

https://aws.amazon.com/ec2/

Amazon Elastic Compute Cloud (Amazon EC2) is a web service that provides secure, resizable compute capacity in the cloud. It is designed to make web-scale cloud computing easier for developers. Amazon EC2’s simple web service interface allows you to obtain and configure capacity with minimal friction. It provides you with complete control of your computing resources and lets you run on Amazon’s proven computing environment.


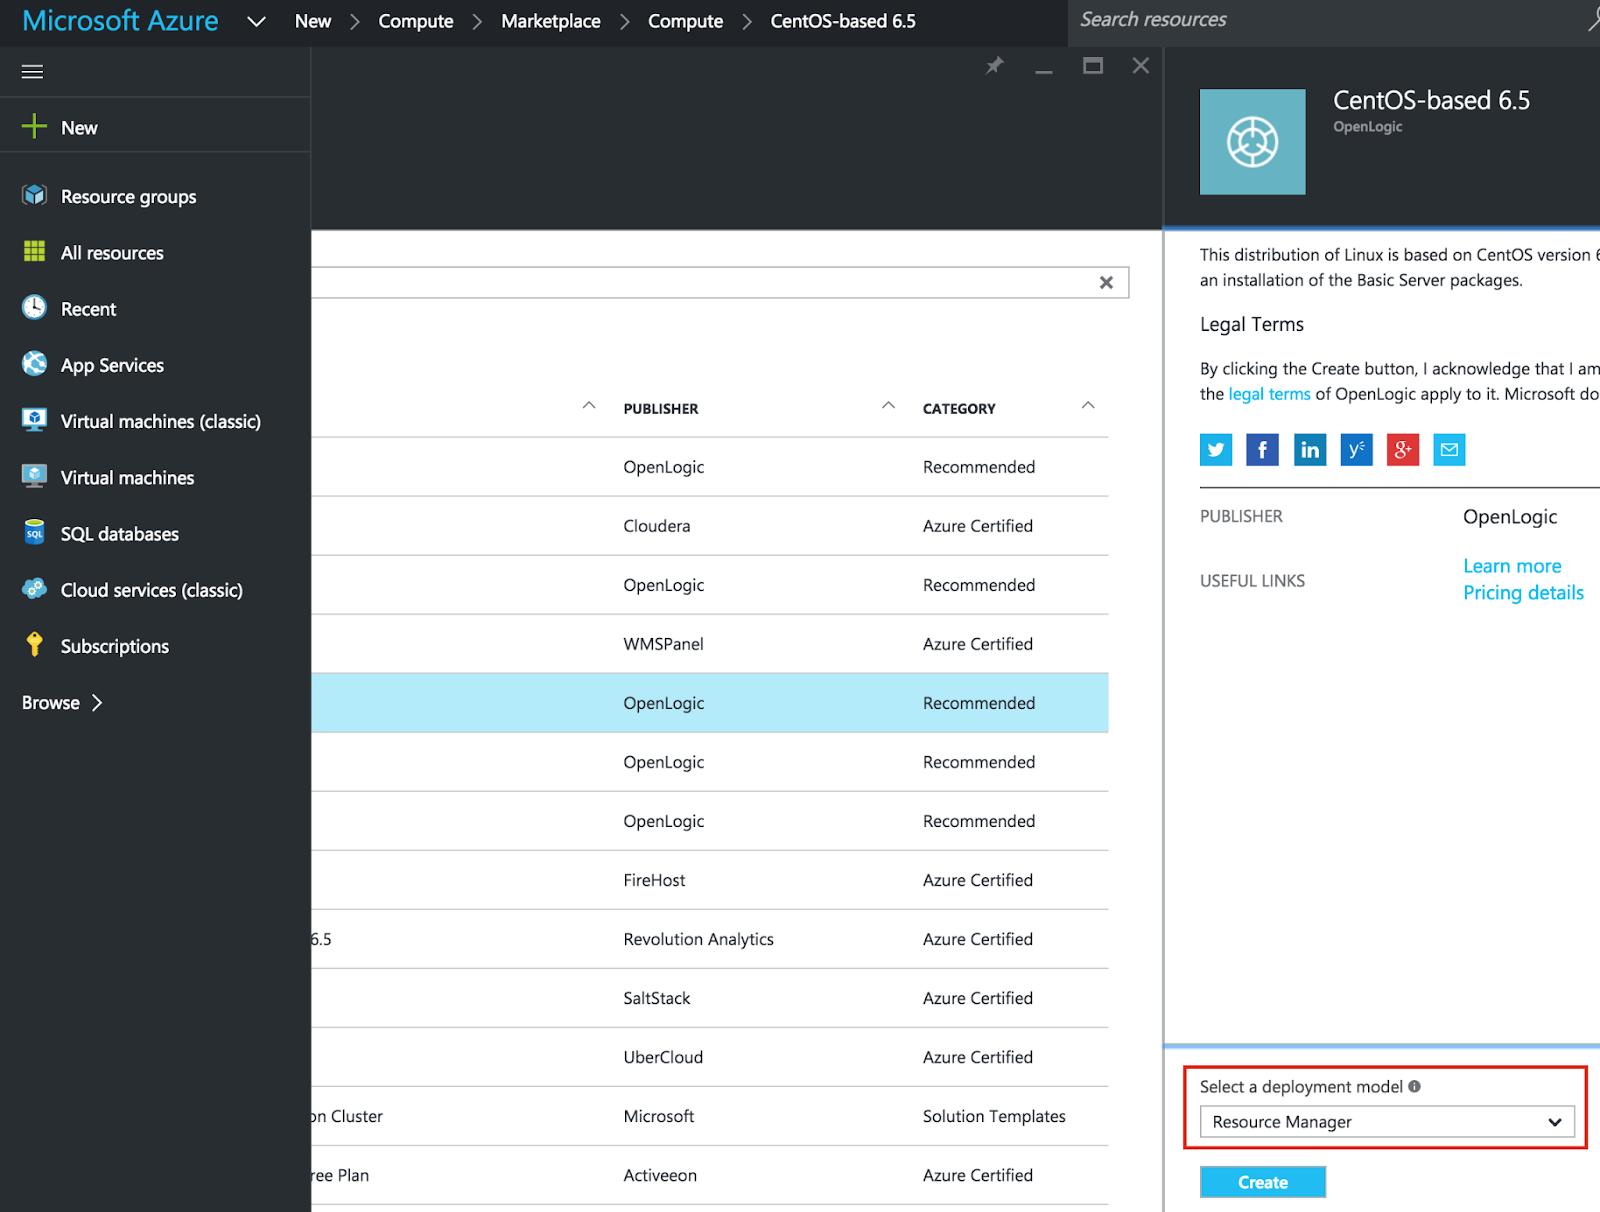
Cloud Virtual

https://azure.microsoft.com/en-us/overview/linux-on-azure/red-hat/

Deploy secure, reliable, flexible hybrid cloud environments using Red Hat solutions on Azure—a fully comprehensive cloud for open source architectures


-End of Document-
Thanks for reading

Monday, April 26, 2021

Configure your bash profile for git

To change the bash prompt on your AWS EC2 instance from the default of 


[ec2-user@ip-10-1-1-1 ~]$
 

to
 

ec2-user@ec2-name /data/cool-app (development=)
└─►


read and apply the following bash_profile update:

Note, By default, AWS EC2 does not set /etc/hosts, so use a fixed string in your bash prompt,
or follow the AWS documentation:
https://aws.amazon.com/premiumsupport/knowledge-center/linux-static-hostname/


Create a temp file with the contents:
> echo '

# change me vars
ec2_name="ec2namechangeme"

# use vim
export EDITOR=vim
alias vi="vim"

# allow tab auto complete w/ sudo
if [[ "$HOME" == "/home/ec2-user" ]]; then
  complete -cf sudo
fi

# git status
git_status="n"
# existing git file in most distros
git_prompt=/usr/share/git-core/contrib/completion/git-prompt.sh
if [[ -f $git_prompt ]]; then
    source $git_prompt
    export GIT_PS1_SHOWDIRTYSTATE=true      # + staged, * unstaged
    export GIT_PS1_SHOWUNTRACKEDFILES=true  # % untracked files
    export GIT_PS1_SHOWUPSTREAM="auto"      # < behind, > ahead, <> diverged, = no difference
    export GIT_PS1_SHOWSTASHSTATE=true      # $ something is stashed
    git_status="y"
fi
unset git_prompt

# export PS1="[\u@\h \W]\$" # default
PS1="\u@${ec2_name} "
PS1+="\[\033[01;34m\]\${PWD#\$HOME/}\[\033[00m\]"
if [ $git_status = "y" ]; then
    PS1+=" \[\033[0;32m\]\$(__git_ps1 '\''(%s)'\'')\[\033[00m\]"
fi
PS1+="\n\[\033[0;32m\]└─►\[\033[00m\] "
export PS1

PATH=$PATH:$HOME/bin:/usr/bin:/usr/local/bin

export PATH
unset USERNAME

alias git-log="git log --pretty=oneline"
alias git-preview-files="git fetch; git diff --name-only HEAD..@{u}"
alias git-preview-diff="git fetch; git diff HEAD..@{u}"

' > temp_bash_profile.sh


Note, '\'' = '

Update ec2_name="ec2name" to the name of your ec2 ie super-cool-service
> vim temp_bash_profile.sh

Append to existing bash profile
# using sed
> sed -i '/# User specific environment and startup programs/ r temp_bash_profile.sh' ~/.bash_profile

# or edit and add to the end
> vim ~/.bash_profile


Test and see results
> source ~/.bash_profile


ec2-user@ec2-name /data/cool-app (development=)
└─►

Source: GitHub gist
 
-End of Document-
Thanks for reading

Wednesday, December 16, 2020

AWS S3 Lifecycle delete rules

By putting a cleanup Lifecycle rule in place on your S3 buckets, you may be able to potentially save costs and increase LIST performance.

"Incomplete Multipart Uploads – S3’s multipart upload feature accelerates the uploading of large objects by allowing you to split them up into logical parts that can be uploaded in parallel.  If you initiate a multipart upload but never finish it, the in-progress upload occupies some storage space and will incur storage charges. However, these uploads are not visible when you list the contents of a bucket and (until today’s release) had to be explicitly removed.


Expired Object Delete Markers – S3’s versioning feature allows you to preserve, retrieve, and restore every version of every object stored in a versioned bucket. When you delete a versioned object, a delete marker is created. If all previous versions of the object subsequently expire, an expired object delete marker is left. These markers do not incur storage charges. However, removing unneeded delete markers can improve the performance of S3’s LIST operation."


Source: https://aws.amazon.com/blogs/aws/s3-lifecycle-management-update-support-for-multipart-uploads-and-delete-markers/


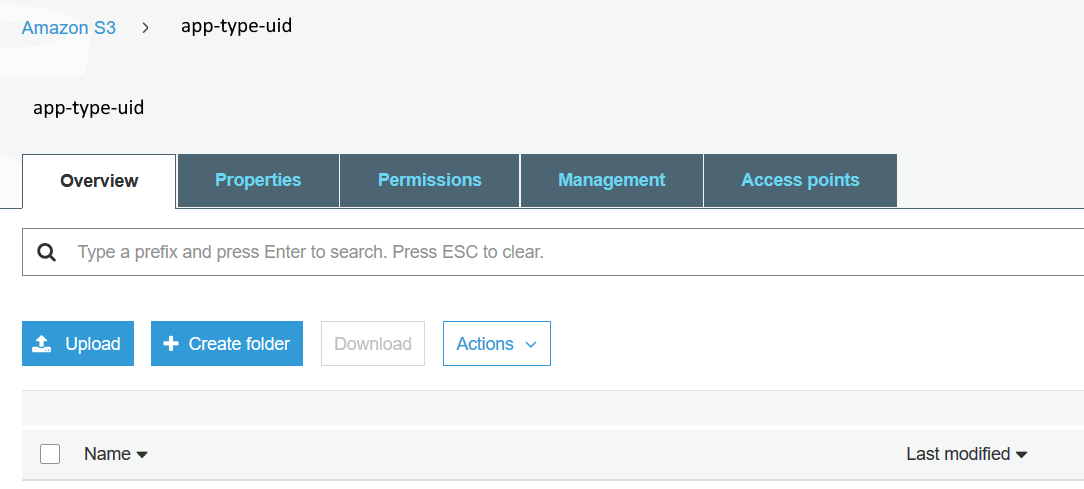
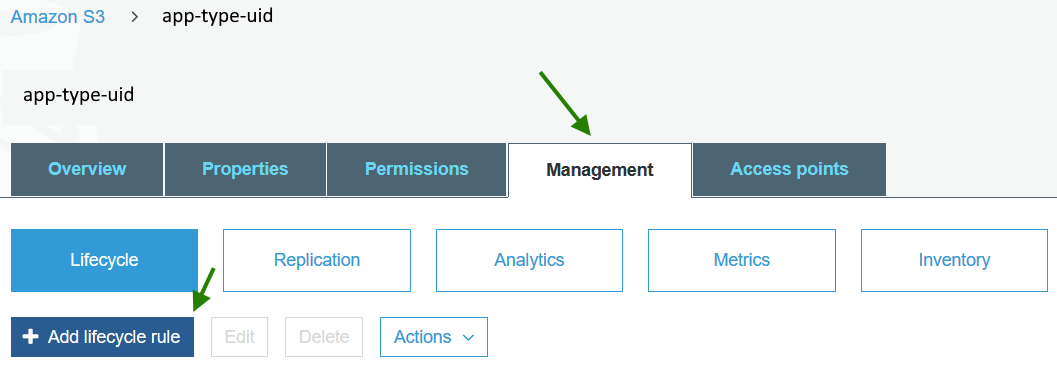
To add a cleanup Lifecycle rule:


  • Log into the Amazon S3 web console

  • Select your S3 bucket


  • Select Management

  • Select Add lifecycle rule


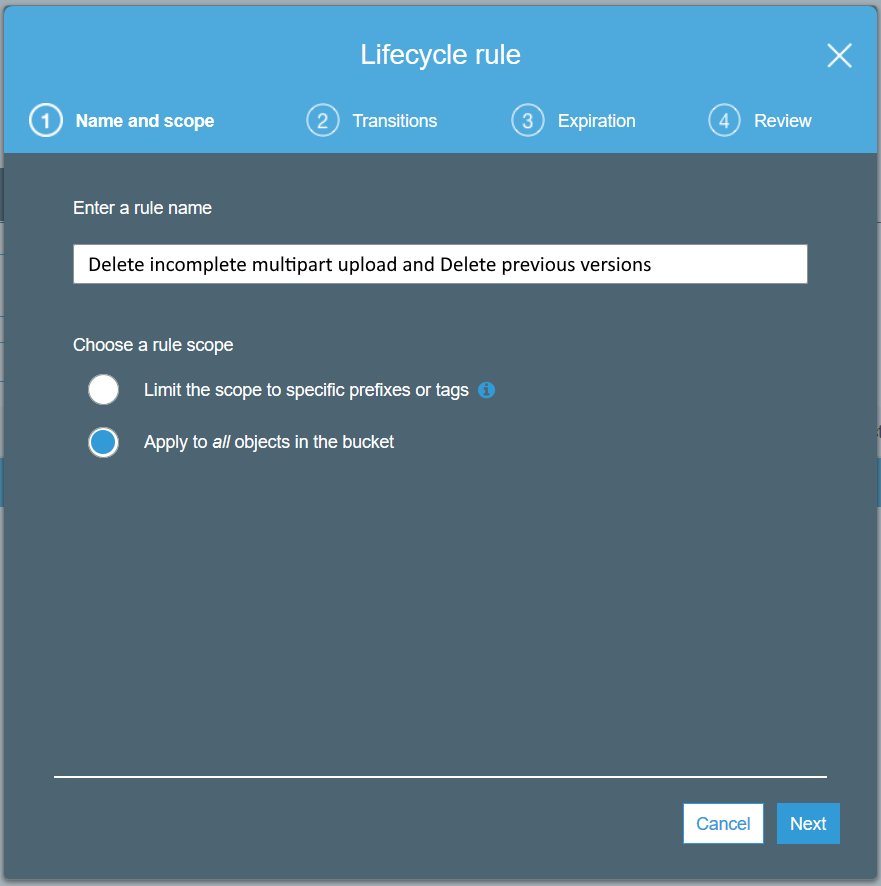
  • Enter a name such as 

'Delete incomplete multipart upload and Delete previous versions'


  • Skip Transitions for now

Transitions allow you to move storage to slower locations at a reduced cost

https://docs.aws.amazon.com/AmazonS3/latest/dev/lifecycle-transition-general-considerations.html


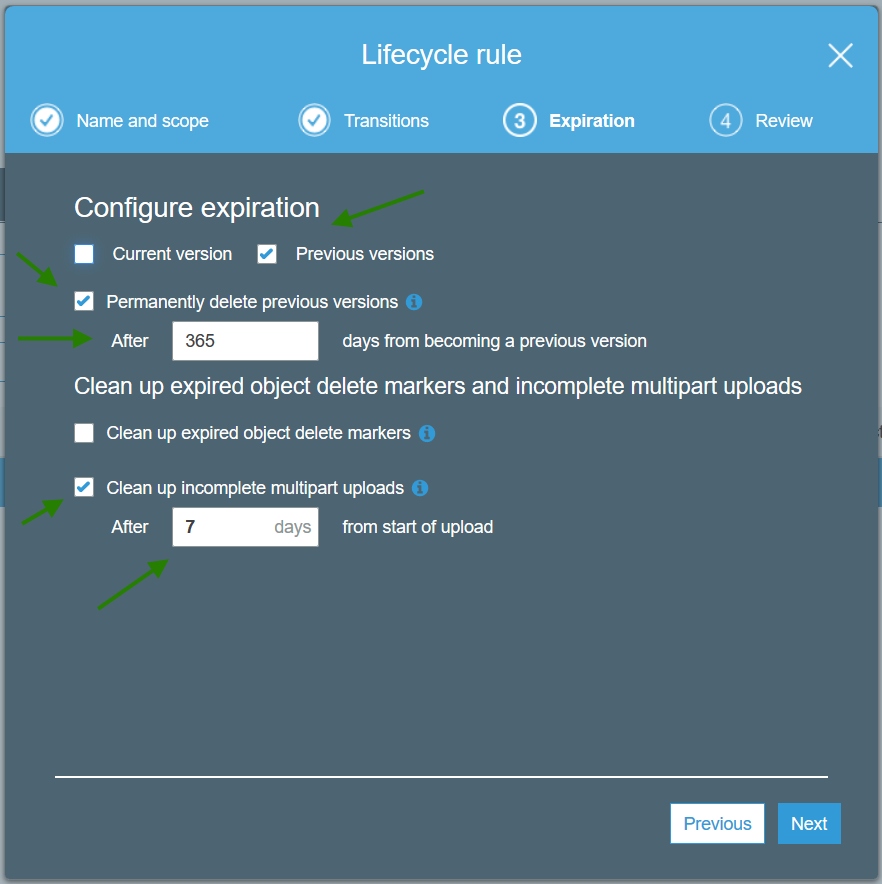
  • Expiration

    • Delete Previous versions after 365 days

You can choose shorter periods such as 7 days or 30 days if you don’’t have a use case for retrieving prior S3 versions.

You will still have the current version, which is usually all you want, but deleting previous versions can help with costs and S3 LIST performance.

    • Clean up incomplete multipart uploads after 7 days

If you do not have any automated processes that may re-try uploads, you could choose 1 day


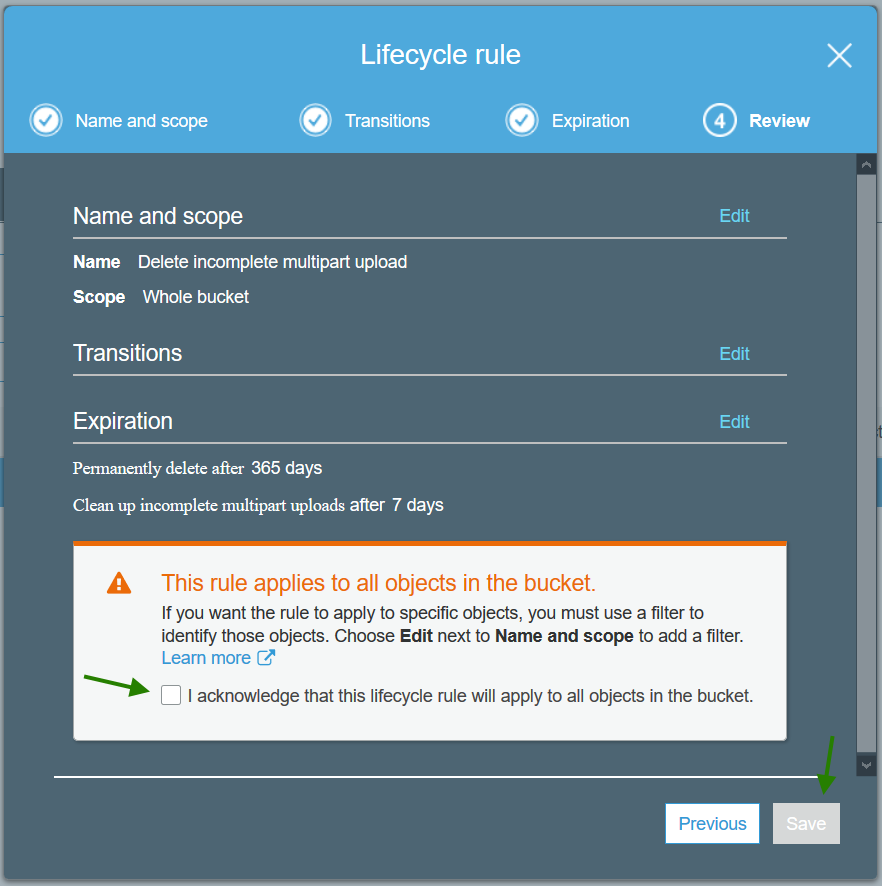
  • Review

Agree to the 'scary' this applies to all objects in bucket

Note, if you have S3 objects (uploads) which require different policies, you may find it easier to manage by creating a S3 bucket per policy.


You now have some basic cleanup of your S3 bucket(s) configured.


-End of Document-
Thanks for reading

Monday, July 20, 2020

Require AWS MFA and still allow a user to change their password on initial login

MFA stands for Multifactor authentication, or Multi-factor authentication.
Multifactor authentication (MFA) is a security system that requires more than one method of authentication from independent categories of credentials to verify the user's identity for a login or other transaction.
Source: https://searchsecurity.techtarget.com/definition/multifactor-authentication-MFA

Note, MFA is also refereed to as 2FA or Two Factor Authentication

If you want to 'force' MFA for your users in AWS, you can follow the AWS tutorial:
'Enable Your Users to Configure Their Own Credentials and MFA Settings'
https://docs.aws.amazon.com/IAM/latest/UserGuide/tutorial_users-self-manage-mfa-and-creds.html
which creates a custom Policy and assigns it to a Group and then a User.

Users with this Group will be 'forced' to add MFA before they can access resources.
'Forced' is a misnomer though. Once logged in, it may appear that you can do stuff, but most pages show non friendly errors that you do not have access, and what Policy to add to enable access. So IAM admin friendly, but not user friendly. Once you have enabled and logged in using MFA, you will able to access resources. So 'told to' or 'resigned to' would be a better Policy description. It would be nice if there was an official AWS Policy to force MFA and the only screen you saw upon login was that. But oh well, the Tutorial does 'work',  so that's all good.

But, what if when you create the user, you required the user to change their password on initial login.
The Policy listed in the AWS tutorial does not allow the user to change their password if they have not enabled MFA. So a chicken egg problem.  Or an angry user if devops didn't test first, or a frustrated devops if they did test first.

To allow a user to change their password on initial Login, edit the Policy supplied by AWS.
Simply add the iam:ChangePassword permission to the DenyAllExceptListedIfNoMFA list.
  ...
  "DenyAllExceptListedIfNoMFA",
    "Effect": "Deny",
      "NotAction": [
        ...
        "iam:ChangePassword"
        ...


So now a new user can login, change their password, see a bunch of pages which they can't do anything with (uhg), go to their Security Credentials and enable MFA, logout, login with MFA and then be able to get to work.

-End of Document-
Thanks for reading

Monday, April 20, 2020

AWS RDS MySQL User Creation

When you create a AWS RDS MySQL instance, you will be asked to also create a master username/password.  The master RDS user acts like the root user of all it's databases, with full access to SQL commands such as DROP and CREATE.  While you can use this root user within your applications, you should create an application specific database user with limited privileges, which will prevent harm from accidental and malicious use.

Note: AWS (Amazon Web Services) RDS (Relational Database Service) is a managed service, and it doesn't provide SYS access (SUPER privileges)

View permissions of root user

Show grants for RDS MySQL root user ie master username

SQL: 
SHOW GRANTS FOR 'professor';

Result:
GRANT SELECT, INSERT, UPDATE, DELETE, CREATE, DROP, RELOAD, PROCESS, REFERENCES, INDEX, ALTER, SHOW DATABASES, CREATE TEMPORARY TABLES, LOCK TABLES, EXECUTE, REPLICATION SLAVE, REPLICATION CLIENT, CREATE VIEW, SHOW VIEW, CREATE ROUTINE, ALTER ROUTINE, CREATE USER, EVENT, TRIGGER ON *.* TO `professor`@`%` WITH GRANT

Create new application user

Create a new user to be used by just the application

SQL:
CREATE USER 'express_app'@'%' IDENTIFIED BY '20charRandomPwd';

Note: The username should be related to the application, and the password does not need to be readable as it will only be used within the application configuration.

Grant permissions

For application users, remove:
CREATE, DROP, RELOAD, PROCESS, REFERENCES, INDEX, ALTER, SHOW DATABASES, CREATE TEMPORARY TABLES, LOCK TABLES, CREATE VIEW, SHOW VIEW, CREATE ROUTINE, ALTER ROUTINE, CREATE USER, EVENT

Leaving the basics:
SELECT, INSERT, UPDATE, DELETE, EXECUTE, REPLICATION SLAVE, REPLICATION CLIENT, TRIGGER


SQL:
GRANT SELECT, INSERT, UPDATE, DELETE, EXECUTE, REPLICATION SLAVE, REPLICATION CLIENT, TRIGGER ON *.* TO `express_app`@`%` WITH GRANT OPTION;

Note: If using multiple databases in a RDS instance, then grant access only to the required databases ie ON `planet.*` TO `express_app` 

You can now use the newly created, and restricted, database user express_app in your application.


-End of Document-
Thanks for reading

Monday, March 9, 2020

AWS configure application environment


After creating and starting an AWS EC2 instance, and installing nginx and the latest php, 
you will probably want to configure the application environments, deployment user, permissions, and re-configure nginx and php.

Goal

Create a user to be the owner of the deployed code (application abbreviation, internal code, etc)
               professor
Create environment-based directories for the application (/data could be an external volume)
/data/prod/fry/www/html
/data/dev/fry/www/html
/data/qa/fry/www/html
Create environment-based urls for the application
fry.domain.com
fry-qa.domain.com
fry-dev.domain.com

Note: while this should allow multiple apps per EC2, it may be better and simpler to have one app per EC2, in which case, there would not necessarily be a need for the /fry directory, although it may add clarity when view logs and debugging deployments.

Setup

Note: To facilitate getting stuff done, and to minimize permission problems, disable selinux.
If you have utilized and configured used services with selinux successfully before, then keep enabled and configure it appropriately.

Temporarily disable selinux
> # sudo setenforce 0

Permanently disable selinux
> sudo vi /etc/selinux/config
SELINUX=disabled


Create or obtain your ssh key pairs
You can create key pairs from AWS EC2, ssh-keygen, or putty
Note: Be sure to securely store/backup your private key and distribute the public key as needed

Add a user to be used for deploying code
Note, there could be a user per app too, but for now, one user, 
which could be based on company name, or something generic
> sudo adduser professor

Change to the app user
> sudo su - professor

Enable ssh

Enable ssh access using key pairs

Make sure in /home/professor
> pwd

Create the file to store the public key
> mkdir .ssh
> chmod 700 .ssh
> touch .ssh/authorized_keys
> chmod 600 .ssh/authorized_keys

Copy in the public key (pem) for this user
> vi .ssh/authorized_keys
> # cat >> .ssh/authorized_keys # append pasted in text, ctrl c

Note: The public key should be in the format
ssh-rsa ABC…123== rsa-key-20200110

Putty on Windows will store the format as
---- BEGIN SSH2 PUBLIC KEY ----
Comment: "rsa-key-20200110"
ABC…123
---- END SSH2 PUBLIC KEY ----

You can use PuttyGen, open the private key, and view the proper format
or do some simple text editing of the surrounding delimiters.

From another shell, you should now be able to
> ssh -i professor.pem ec2host

Permissions

Add professor to nginx group, to view logs etc
> sudo usermod -a -G nginx professor

Add nginx to professor group as app dirs will be owned by professor
> sudo usermod -a -G professor nginx

Make app dirs (-p = recursive)
The application directory can be named for the application, an abbreviation, internal code/name, etc
> sudo mkdir -p /data/prod/fry/www/html
> sudo mkdir -p /data/dev/fry/www/html
> sudo mkdir -p /data/qa/fry/www/html

Change perms to professor (nginx) (-R recursive)
> sudo chown -R professor:professor /data/prod/fry
> sudo chown -R professor:professor /data/dev/fry
> sudo chown -R professor:professor /data/qa/fry

Keep data and prod/dev/qa owned by root, but accessible to professor
> sudo chown root:professor /data/prod
> sudo chown root:professor /data/dev
> sudo chown root:professor /data/qa
> sudo chown root:professor /data

Configure

Organize nginx sites in a new dir sites.d
Note: Inspired by Debian configuration
> sudo mkdir /etc/nginx/sites.d

Add sites.d to nginx conf
> sudo vi /etc/nginx/nginx.conf
    include /etc/nginx/conf.d/*.conf;
    include /etc/nginx/sites.d/*.conf;

Add sites conf to sites.d
Configure prod/dev/qa in same file, or separate files
Note: This is just a modification of the default nginx config, you may have to adjust it per your framework or application
> sudo vi /etc/nginx/sites.d/fry.domain.com.conf
server {
        listen 80;
        server_name fry.domain.com;

        root   /data/prod/fry/www/html/;  

        access_log /var/log/nginx/fry.domain.com_access_log;
        error_log  /var/log/nginx/fry.domain.com_error_log error;

        location / {
               # modify based on framework
               try_files $uri $uri/ /index.php?$query_string;
        }

        # include php; replace if framework requires
        # index index.php index.html index.htm;
        # location ~ \.php$ { }
        include /etc/nginx/default.d/php.conf;      
}

server {
        listen 80;
        server_name fry-dev.domain.com;

        root   /data/dev/fry/www/html/; 

        access_log /var/log/nginx/fry-dev.domain.com_access_log;
        error_log  /var/log/nginx/fry-dev.domain.com_error_log error;

        location / {
               # modify based on framework
               try_files $uri $uri/ /index.php?$query_string;
        }

        # include php; replace if framework requires
        # index index.php index.html index.htm;
        # location ~ \.php$ { }
        include /etc/nginx/default.d/php.conf;      
}

server {
        listen 80;
        server_name fry-qa.domain.com;

        root   /data/qa/fry/www/html/;   

        access_log /var/log/nginx/fry-qa.domain.com_access_log;
        error_log  /var/log/nginx/fry-qa.domain.com_error_log error;

        location / {
               # modify based on framework
               try_files $uri $uri/ /index.php?$query_string;
        }

        # include php; replace if framework requires
        # index index.php index.html index.htm;
        # location ~ \.php$ { }
        include /etc/nginx/default.d/php.conf;      
}

Configure default ec2 to go to a dev site
> sudo vi /etc/nginx/sites.d/ec2.conf
server {
        listen 80;
        server_name ec2-1-2-3-4.us-east-9.compute.amazonaws.com;

        # point aws ec2 to a dev location
        root   /data/dev/fry/www/html/; 

        access_log /var/log/nginx/fry-dev.domain.com_access_log;
        error_log  /var/log/nginx/fry-dev.domain.com_error_log error;

        location / {
               # modify based on framework
               try_files $uri $uri/ /index.php?$query_string;
        }

        # include php; replace if framework requires
        # index index.php index.html index.htm;
        # location ~ \.php$ { }
        include /etc/nginx/default.d/php.conf;      
}


Support long AWS EC2 server names, using a new config
> sudo vi /etc/nginx/conf.d/http.conf
server_names_hash_bucket_size  128;

Validate config before restart
> sudo nginx -t

Restart nginx
> sudo systemctl restart nginx

Remove prior test page, if any
> sudo rm /usr/share/nginx/html/info.php
              
Create a test php page
Assuming the default AWS EC2 page goes to the development dir (ec2.conf)
> sudo vi /data/dev/fry/www/html/info.php
<?php

echo date(DATE_RFC2822);
phpinfo();

Verify
http://ec2-1-2-3-4.us-east-9.compute.amazonaws.com/info.php

Application code can be deployed to separate environment-based directories as professor


-End of Document-
Thanks for reading
Monday, February 17, 2020

AWS RedHat install nginx and php


After creating and starting an EC2 instance, install nginx and the latest php.
This tutorial assumes you are using RedHat Enterprise, but it should apply to CentOS too. 

Setup

Note: To facilitate getting stuff done, and to minimize permission problems, disable selinux.
If you have utilized and configured used services with selinux successfully before, then keep enabled and configure it appropriately.

Temporarily disable selinux
> # sudo setenforce 0

Permanently disable selinux
> sudo vi /etc/selinux/config
SELINUX=disabled

Update OS
> sudo yum check-update
> sudo yum update -y

If the kernel was updated, reboot
> sudo reboot 

Note: Included is some information if you try to use Amazon Linux 2 as the AMI,
but it does seem to have fewer packages, related to php anyway.

amazon-linux-extras is a mechanism in Amazon Linux 2 to enable the consumption of new versions of application software on a stable operating system that is supported until June 30, 2023. Extras help alleviate the compromise between the stability of the OS and freshness of available software.

Enable Extra Packages for Enterprise Linux (EPEL) repo
Amazon Linux 2
> sudo amazon-linux-extras install epel

RedHat Enterprise (version 8)
> sudo yum install https://dl.fedoraproject.org/pub/epel/epel-release-latest-8.noarch.rpm

Also install remi repo to install php versions greater than the RedHat php versions
> sudo yum install http://rpms.remirepo.net/enterprise/remi-release-8.rpm

Install some extra utilities
> sudo yum install htop iftop iotop

Install nginx

Amazon Linux 2
> sudo amazon-linux-extras enable nginx1

See which version of nginx is available
> sudo yum info nginx
nginx 1.14.1

Install nginx
> sudo yum install nginx

Test the default install
Amazon Linux 2
> sudo service nginx start

RedHat Enterprise
> sudo systemctl start nginx

View you EC2 instance via its default url (find in the AWS EC2 Console)
http://ec2-1-2-3-4.us-east-9.compute.amazonaws.com

Enable nginx to run at boot
Amazon Linux 2
> sudo chkconfig nginx on

RedHat Enterprise
> sudo systemctl enable nginx

Additional actions for systemctl
> sudo systemctl start nginx      # start the server
> sudo systemctl stop nginx       # stop the server
> sudo systemctl restart nginx    # restart the server
> sudo systemctl reload nginx     # reload the server
> sudo systemctl status nginx     # get status of the server

Install php

Amazon Linux 2
> sudo amazon-linux-extras enable php7.3

Note: php-imap is not available in Amazon Linux 2 (as of 2020-01-10)

See versions of php avail
> sudo yum module list php
Remi's Modular repository for Enterprise Linux 8 - x86_64
Name            Stream           Profiles                                 Summary
php             remi-7.2         common [d], devel, minimal               PHP scripting language
php             remi-7.3         common [d], devel, minimal               PHP scripting language
php             remi-7.4 [e]     common [d] [i], devel, minimal           PHP scripting language

Red Hat Enterprise Linux 8 for x86_64 - AppStream from RHUI (RPMs)
Name            Stream           Profiles                                 Summary
php             7.2 [d]          common [d], devel, minimal               PHP scripting language
php             7.3              common [d], devel, minimal               PHP scripting language

Enable and install php 7.4
> # sudo dnf module reset php  # resets back to RedHat version
> sudo dnf module install php:remi-7.4

Install some common packages
> sudo yum install php-cli php-common php-fpm php-json php-mbstring php-xml \
php-pdo php-mysqlnd php-gd php-gmp php-xmlrpc php-pecl-mcrypt php-pecl-zip php-imap

Start php-fpm
> sudo systemctl start php-fpm

Enable php-fpm at boot
> sudo systemctl enable php-fpm
> sudo systemctl status php-fpm

Edit php-fpm to run with nginx user, replacing the httpd or apache user
> sudo vi /etc/php-fpm.d/www.conf
user = nginx
group = nginx

Restart the services
> sudo systemctl restart php-fpm
> sudo systemctl restart nginx    

Note, if there are multiple apps per EC2, consider a php-fpm pool per app ie replace www.conf with app1.conf, app2.conf etc

Create a test php page in the default web dir
> sudo vi /usr/share/nginx/html/info.php
<?php

phpinfo();

You should be able to view the info page and php info
http://ec2-1-2-3-4.us-east-2.compute.amazonaws.com/info.php

You should now have nginx and php installed and usable.
But you will probably want to configure your application code user and permissions, which will be a later post.

-End of Document-
Thanks for reading